Setting up a loan takes about two minutes. Once it's created, the tracker calculates your payment schedule automatically and starts recording every payment from that point forward. This guide walks through each field so you know exactly what you're entering and why it matters.
Before you start
You'll need to know:
- The loan amount and currency
- The annual interest rate (or 0 if it's interest-free)
- The loan duration in months
- When the money was (or will be) disbursed
- When the first payment is due
- How often payments will be made
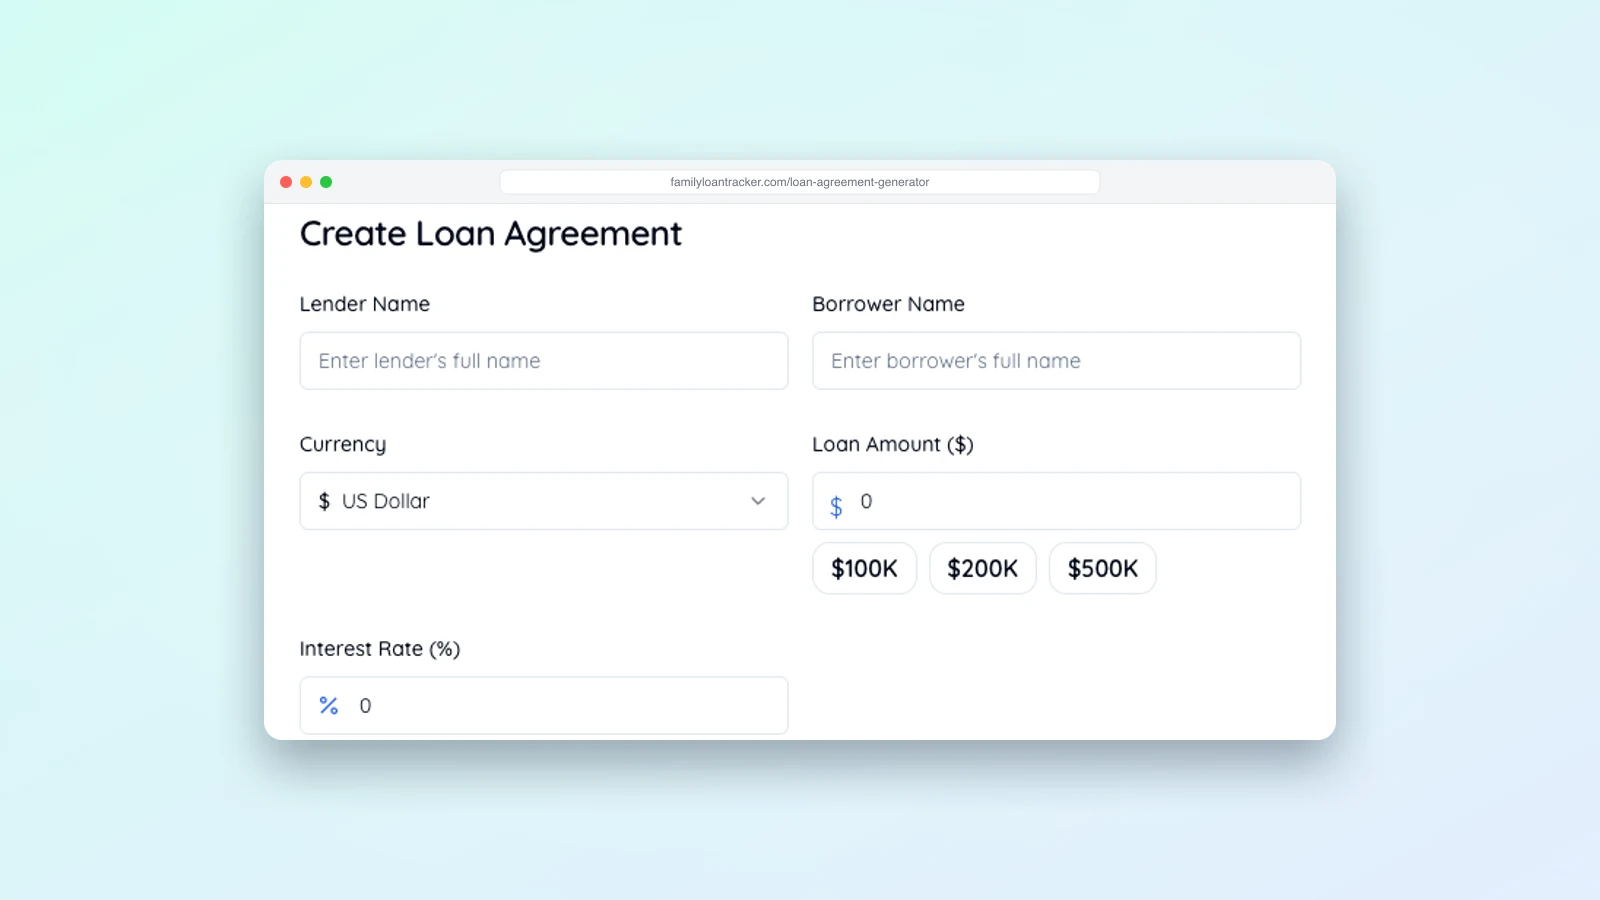
If you already have a signed loan agreement, you can pull all of these directly from it. If you haven't created an agreement yet, the free loan agreement generator lets you work out the terms first and then convert them into a tracked loan automatically.
Step 1: Choose your role
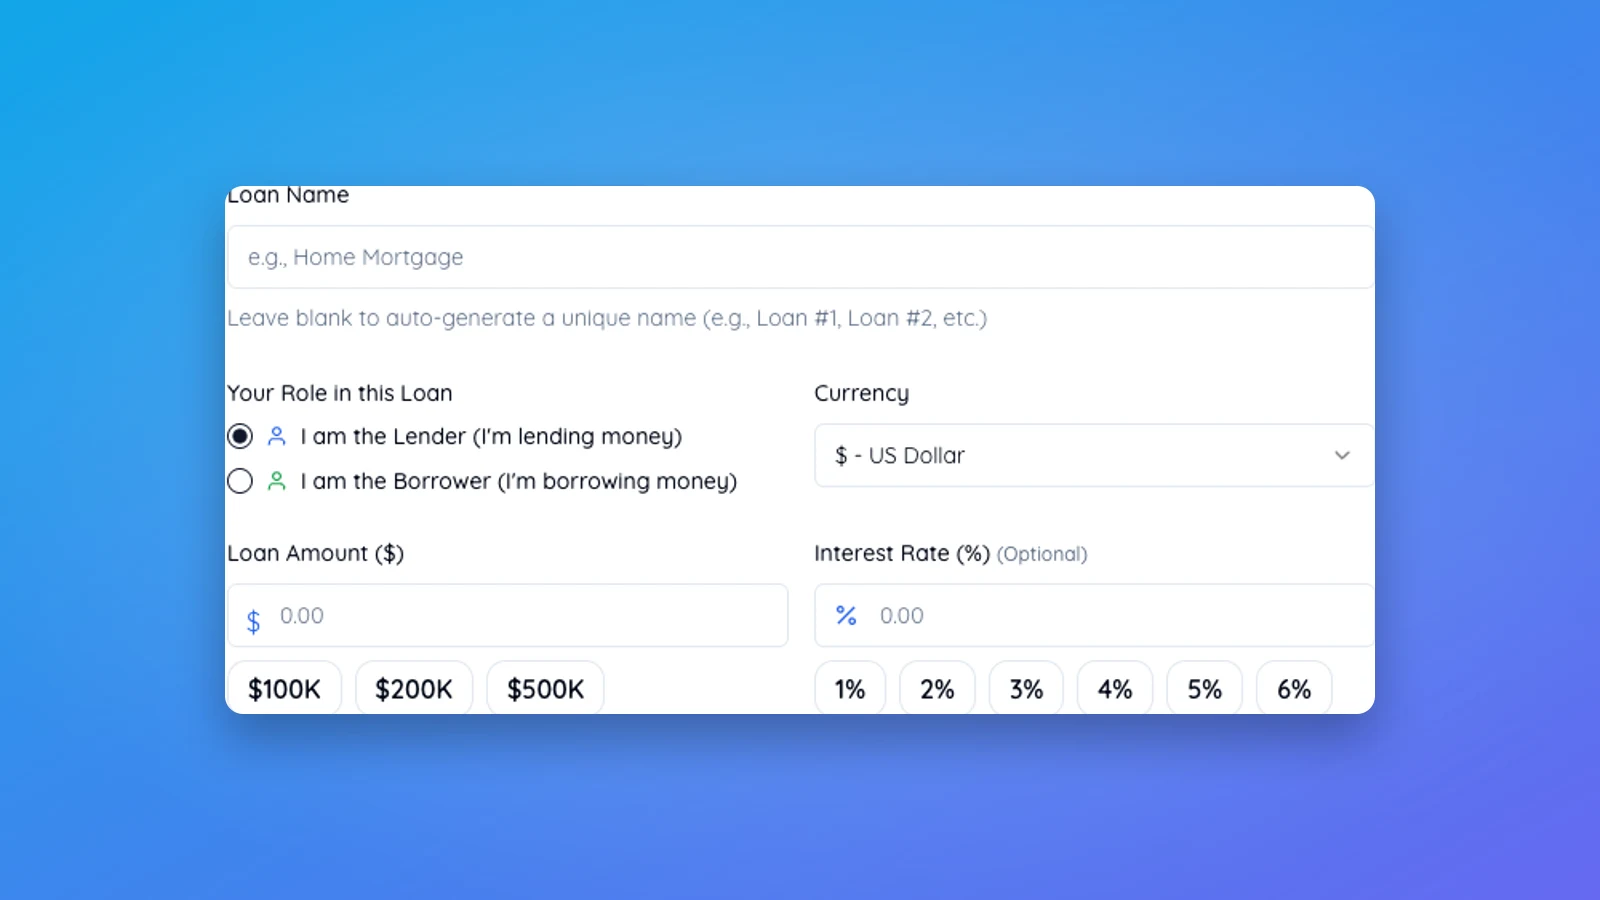
The first thing you select is whether you are the lender or the borrower. This determines how the dashboard is framed for you — lenders see money coming in, borrowers see money going out.
Both parties can access the same loan once you invite the other person — they'll receive an email and can view the shared loan without needing to know your login credentials. Your role selection here also decides who owns the loan; see how loan ownership and licenses work if more than one generation is involved and it isn't obvious who should be the one creating it.
Step 2: Enter the loan details
Amount and currency
Enter the original loan amount — the principal disbursed. If you're lending €15,000, enter 15000.
The currency selector covers a wide range of currencies. The currency you choose appears throughout the dashboard, payment records, and any PDF exports. Pick the currency the loan is actually denominated in.
Interest rate
Enter the annual interest rate as a percentage. For an interest-free loan, enter 0.
A few things to know:
- The rate applies annually, even if payments are made more frequently. The tracker converts it to the correct per-period rate based on your payment frequency.
- If you're in the US and lending more than $10,000, the IRS requires a minimum interest rate (the Applicable Federal Rate). Below that rate, the difference is treated as a taxable gift.
- In the Netherlands, family loans typically require a market-rate interest to be treated as genuine loans rather than gifts for tax purposes.
Duration
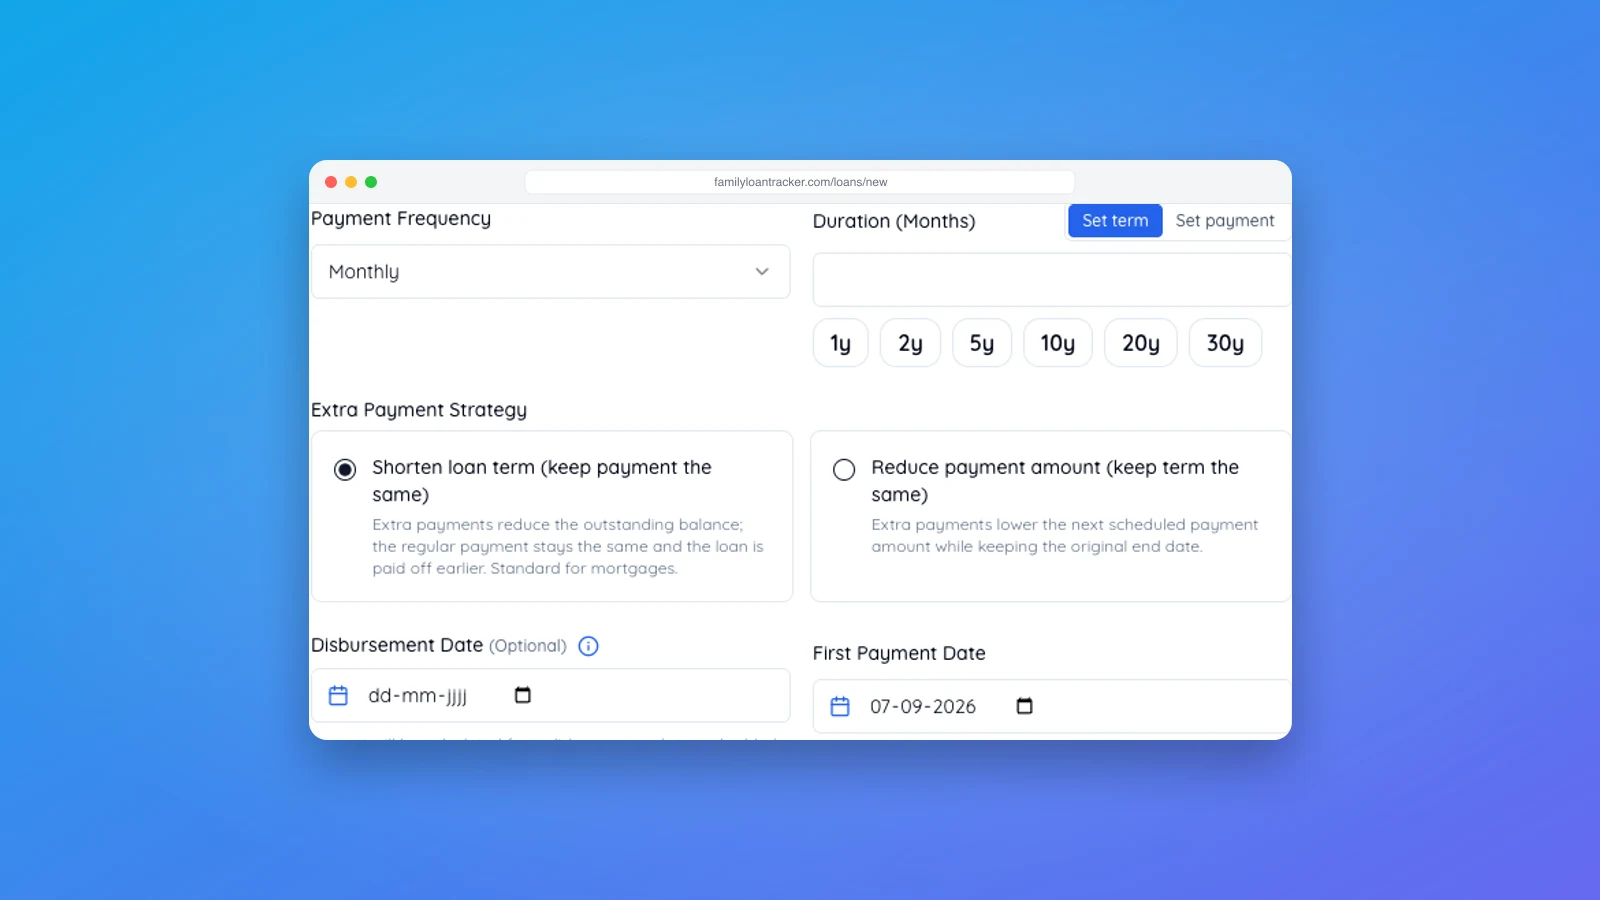
Enter the loan duration in months. A 3-year loan is 36 months, a 5-year loan is 60 months. This — combined with the interest rate and payment frequency — determines your periodic payment amount. If you would rather set the payment you want and let the tool work out how many months that takes, use the Set payment toggle above the duration field instead of typing months directly.
Step 3: Set your dates
Disbursement date
This is the date the money was actually transferred — or will be transferred. It's the starting point for interest accrual.
First payment date
This is the date of the first scheduled payment. In most cases, this is roughly one payment period after disbursement. For a monthly loan disbursed on May 1st, the first payment might be June 1st.
Important: If there's a gap between the disbursement date and the first payment date that's longer than one payment period, interest accrues during that gap and gets added to the effective principal. This is called a deferment period. The tracker detects it automatically and shows you the deferred interest amount as a separate line on your dashboard, so it doesn't come as a surprise when you see the total balance. See understanding deferred interest for exactly how that number is calculated.
Step 4: Choose your payment frequency
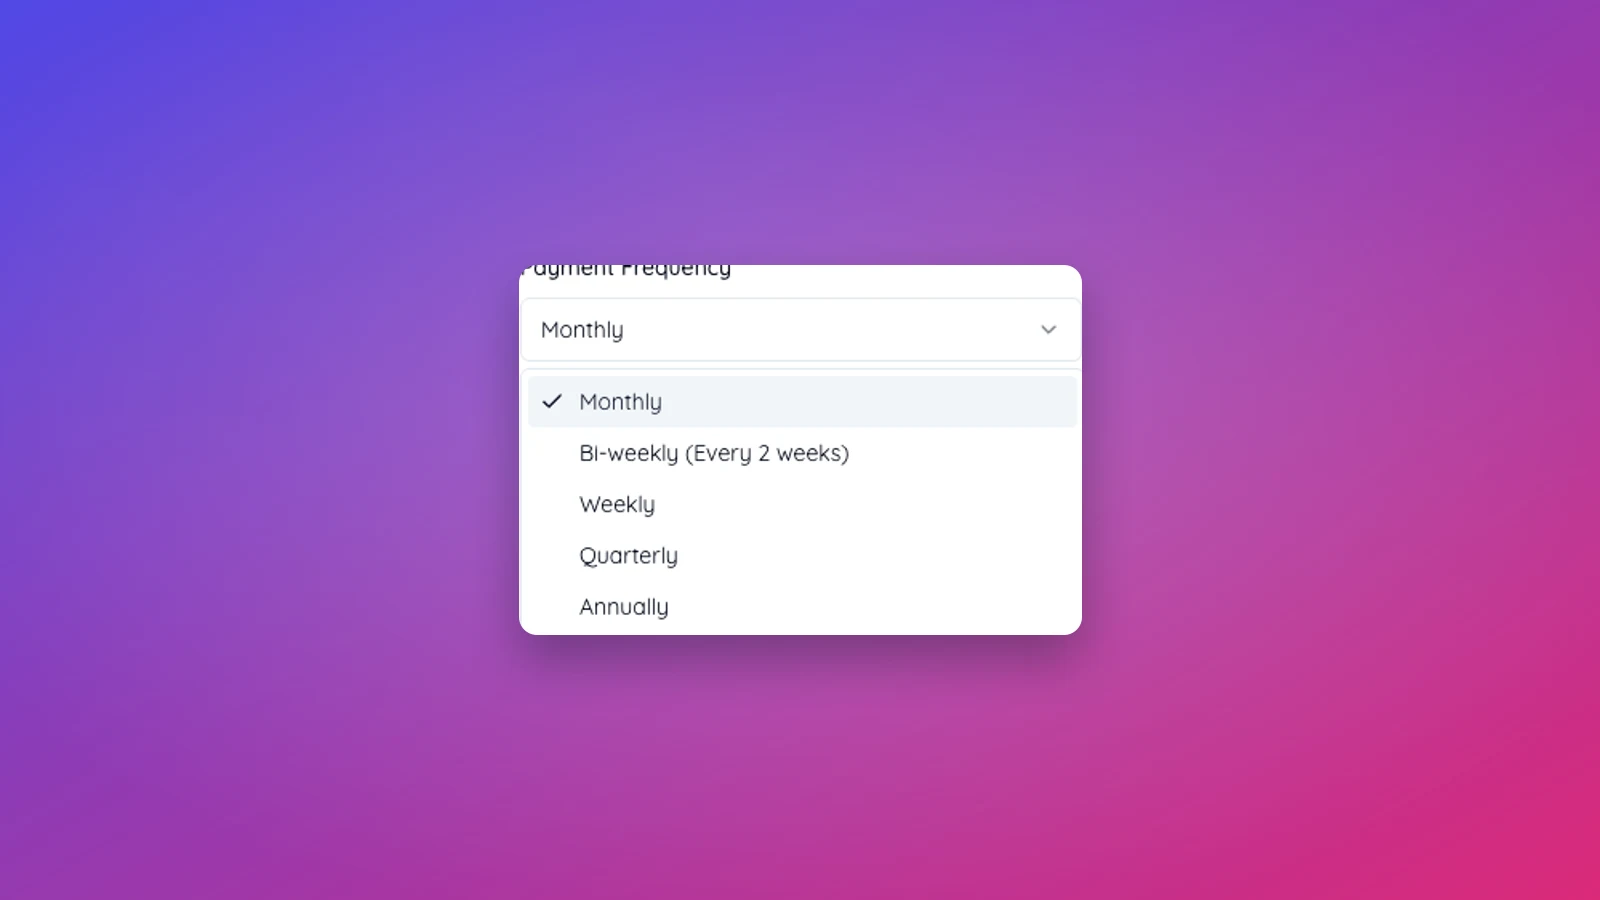
How often payments are made — weekly, biweekly, monthly, quarterly, or annually.
Monthly is the most common for family loans. Biweekly works well for borrowers paid biweekly by their employer, and results in one extra full payment per year compared to monthly. Quarterly or annual payments can make sense when cash flow is irregular.
The frequency you choose affects two things: the payment amount per period and the total interest paid over the life of the loan. More frequent payments reduce the average outstanding balance, so you pay slightly less interest overall — the difference between monthly and biweekly on a $30,000 loan at 4% over 5 years can add up to several hundred dollars in interest saved.
Step 5: Review and create
Before submitting, the form shows you a preview of the loan terms: the periodic payment amount, total interest over the full duration, and the final payment date. Check these against your expectations before creating the loan.
Once you click Create Loan, the tracker generates your full payment schedule. You'll see every scheduled payment, its due date, and the principal/interest split for each one.
Common mistakes on first setup
Using the signing date as the disbursement date. The disbursement date is when the money moved, not when the agreement was signed. If these are different days, use the actual transfer date.
Setting the first payment date too soon. If you set the first payment date before one full payment period has elapsed, the first payment will be very small (covering only a few days of interest). Most people intend for the first payment to happen after a full month — or whatever period they chose.
Wrong duration. A 2-year loan is 24 months, not 2. It's easy to enter the number of years instead of months by mistake.
Interest rate as a decimal. Enter 4 for 4%, not 0.04. The field expects a percentage, not a decimal fraction.
Choosing the wrong currency. The currency field can't be changed after the loan is created. If you pick the wrong one, you'll need to delete the loan and start over.
Once your loan is created, consider inviting the other party so both lender and borrower see the same data — and turning on payment reminders so neither of you has to track due dates manually. Both are available from the loan dashboard once the loan is active.
Made a mistake, or agreed to different terms after the fact? How to change your loan's terms covers what you can still correct once the loan exists, and what locks once payments start.